




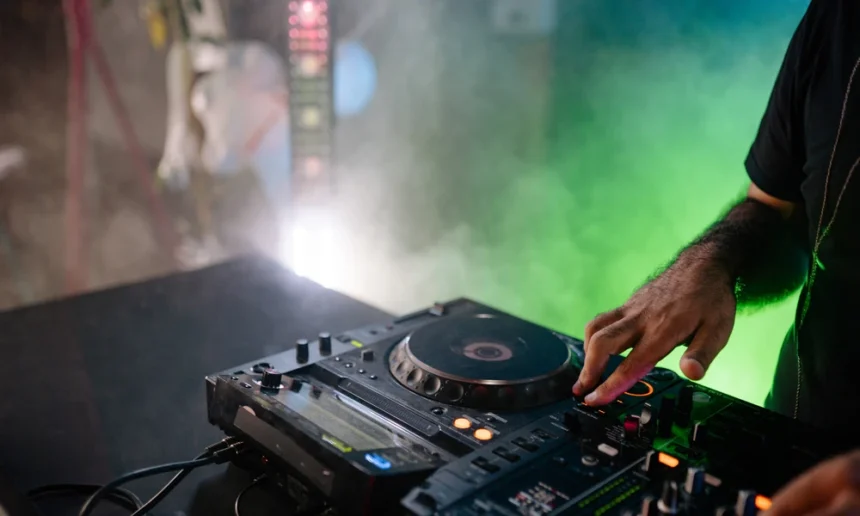

Sampling is the cornerstone of modern electronic music production. From early hip-hop breakbeats to contemporary hyperpop soundscapes, the ability to lift a snippet of audio from the real world-or another recording-and transform it into a brand-new musical statement is an incredibly powerful creative tool. Modern sample platforms provide bedroom producers with instant access to millions of pristine vocal hooks, drum loops, and atmospheric textures.
- 1. Forgetting to Match Sample Roots to the Primary Key Scale
- The Mistake and Its Consequence:
- How to Avoid It:
- 2. Leaving Invisible Low-Frequency Rumble on Transient Loops
- The Mistake and Its Consequence:
- How to Avoid It:
- 3. Overlapping Rhythmic Subdivisions Between Loops
- The Mistake and Its Consequence:
- How to Avoid It:
- 4. Neglecting to Cleanly Fade and Envelope Audio Boundaries
- The Mistake and Its Consequence:
- How to Avoid It:
- 5. Blindly Relying on Default Sample Time-Stretching Algorithms
- The Mistake and Its Consequence:
- How to Avoid It:
However, having infinite sonic choices is a double-edged sword. When you can drop fifty different high-quality loops into a project file with a single click, it is incredibly easy to over-saturate your timeline. What felt like an epic, layered arrangement in your studio often translates to a chaotic, muddy wall of sound when played on a commercial system.
If your tracks sound cluttered, unfocused, or amateurish, you are likely falling victim to common sampling pitfalls. Avoiding these five frequent mistakes will instantly bring clarity and professional separation to your arrangements.
1. Forgetting to Match Sample Roots to the Primary Key Scale
It is a common misconception that if a sample is labeled “In Key,” it will automatically fit your song. For example, if your track is in the key of A minor, dropping in a vocal hook or a synth loop labeled “A minor” should work perfectly in theory. However, music theory is rarely that simple.
The Mistake and Its Consequence:
Even if two musical ideas share the same root key, their individual scale degrees might conflict. If your bassline is emphasizing an F natural while your vocal sample highlights an F# because it was pulled from a Dorian minor scale, they will create an unsettling harmonic rub. Stacking multiple samples with conflicting internal note distributions creates an unfixable sonic mud that destroys the emotional impact of your chords.
How to Avoid It:
Do not rely blindly on file tags. Use your DAW’s internal pitch-shifting algorithms or dedicated sampler plugins to manually fine-tune the cents of your samples. If a melodic loop isn’t sitting right, look at its individual notes using a visual frequency analyzer. If the scale degrees fight your underlying chord progression, chop up the sample to omit the offending notes, or re-pitch individual slices to force them into alignment with your master arrangement.
2. Leaving Invisible Low-Frequency Rumble on Transient Loops
When you load a sample into your timeline-whether it is a tambourine loop, a vocal chop, or a ambient crowd recording-you are importing more than just the audible sound. You are also importing all the low-frequency background noise captured by the original microphone during the tracking session.
The Mistake and Its Consequence:
While you cannot explicitly hear sub-bass rumble at $40text{ Hz}$ on an isolated hi-hat sample, stacking fifteen different unschooled loops creates a massive cumulative layer of invisible low-end energy. This digital garbage eats up your precious master headroom, masking your actual kick drum and sub-bass lines. This forces your master limiter to distort much earlier, leaving your final mix sounding quiet, flat, and hollow.
How to Avoid It:
Adopt a strict high-pass filtering policy across your session. Open a parametric EQ on every single non-bass sample and engage a high-pass filter (HPF). For mid-range elements like vocals or synths, you can often roll off everything up to $100text{ Hz}$ or $150text{ Hz}$ without losing any fundamental body. For bright percussion like hats, shakers, and claps, aggressively cut up to $300text{ Hz}$ to ensure your low-end real estate belongs solely to the rhythm section.
3. Overlapping Rhythmic Subdivisions Between Loops
A frequent amateur trap is trying to build a dense rhythm section by stacking multiple full drum loops on top of one another. You might layer an acoustic funk break under an industrial techno groove, and top it off with a busy Latin percussion loop.
The Mistake and Its Consequence:
When multiple loops feature competing transients-such as two different ghost-note snare patterns or conflicting shaker patterns fighting for the same sixteenth-note grid space-they create acoustic phase cancellation. Instead of sounding massive, your drums will sound messy, disorganized, and completely devoid of punch. The transients fight each other, causing the rhythmic drive of the track to blur.
How to Avoid It:
Practice the art of subtractive sampling. Never let two loops perform the exact same rhythmic job at the exact same frequency space. If you like the low-end swing of one breakbeat but love the top-end sizzle of another, use filters to separate them. Place a low-pass filter on the first loop to isolate the kick, and a high-pass filter on the second loop to isolate the cymbals. Better yet, manually chop out the unwanted slices, retaining only the specific elements that add value to the groove.
4. Neglecting to Cleanly Fade and Envelope Audio Boundaries
When a sample is chopped quickly or dragged onto a DAW grid line without adjusting its boundaries, it can introduce tiny, sudden disruptions to the digital audio wave form.
The Mistake and Its Consequence:
If an audio file starts or stops abruptly where the waveform is not at a absolute zero-crossing point, your monitors will emit a sharp digital “pop” or “click.” While a single click might seem minor, dozens of micro-clicks scattered across a dense arrangement destroy the transient clarity of your mix, fatiguing the listener’s ear and making your production sound cheap.
How to Avoid It:
Always apply subtle micro-fades to the boundaries of your audio regions. A fade-in of just $2text{ ms}$ and a fade-out of $5text{ ms}$ will completely eliminate clicking artifacts without altering the perceptible attack of the sound. Additionally, utilize your sampler’s ADSR (Attack, Decay, Sustain, Release) envelope parameters to shape the decay tail of your samples, preventing overlapping audio files from bleeding clumsily into one another.
5. Blindly Relying on Default Sample Time-Stretching Algorithms
Modern DAWs automatically warp imported samples to match the project’s global BPM. While this feature is incredibly convenient, leaving your software on its default time-stretching setting can introduce unwanted digital artifacts that muddy your high frequencies.
The Mistake and Its Consequence:
If you drag a vocal phrase or a melodic guitar loop into a project and use an algorithm optimized for drums, the software will slice the audio up to match the transients. This results in a choppy, metallic, or stuttering texture that strips away the natural warmth and fluidity of the performance, adding unwanted digital grime to your arrangement.
How to Avoid It:
Manually select the correct warping algorithm for the job. If you are sampling a vocal or a legato violin line, switch your DAW’s warp mode to a complex, polyphonic setting (such as Ableton’s “Complex Pro” or Logic’s “Flex Pitch”). If you are warping a punchy drum transient, utilize a slice or beats-based mode that preserves the sharp initial snap of the hit without blurring the decay tail.
Mastering the finer points of creative sample manipulation transforms you from a basic “loop-arranger” into a true sound designer. It requires a deep understanding of audio acoustics, digital signal flow, and frequency balancing. While watching online video clips is an excellent way to learn basic software shortcuts, developing elite mixing workflows requires structured guidance and professional mentorship.
If you are ready to move past unedited factory presets and build an advanced, professional foundation in wavetable synthesis, custom sound design, and complex signal routing, enrolling in a dedicated music program for electronic music can be the definitive step that transforms your home studio sessions into a sustainable, global production career. Keep your timelines organized, edit your transients with precision, and always mix with intention.